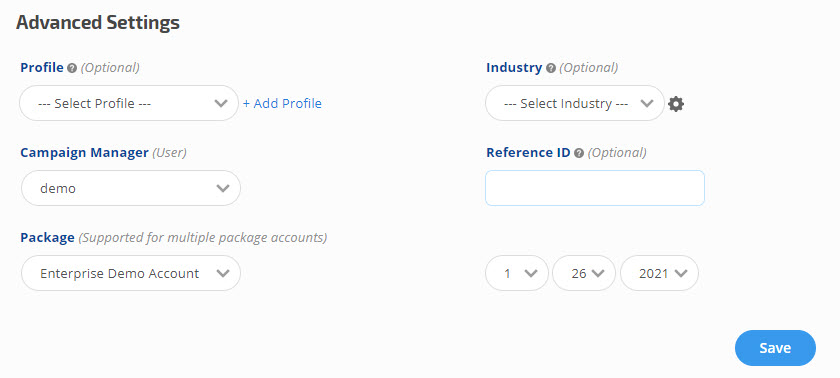
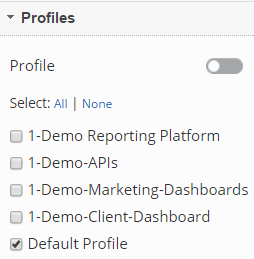
- Rank Tracking Campaigns can be filtered by Profile on the Home screen
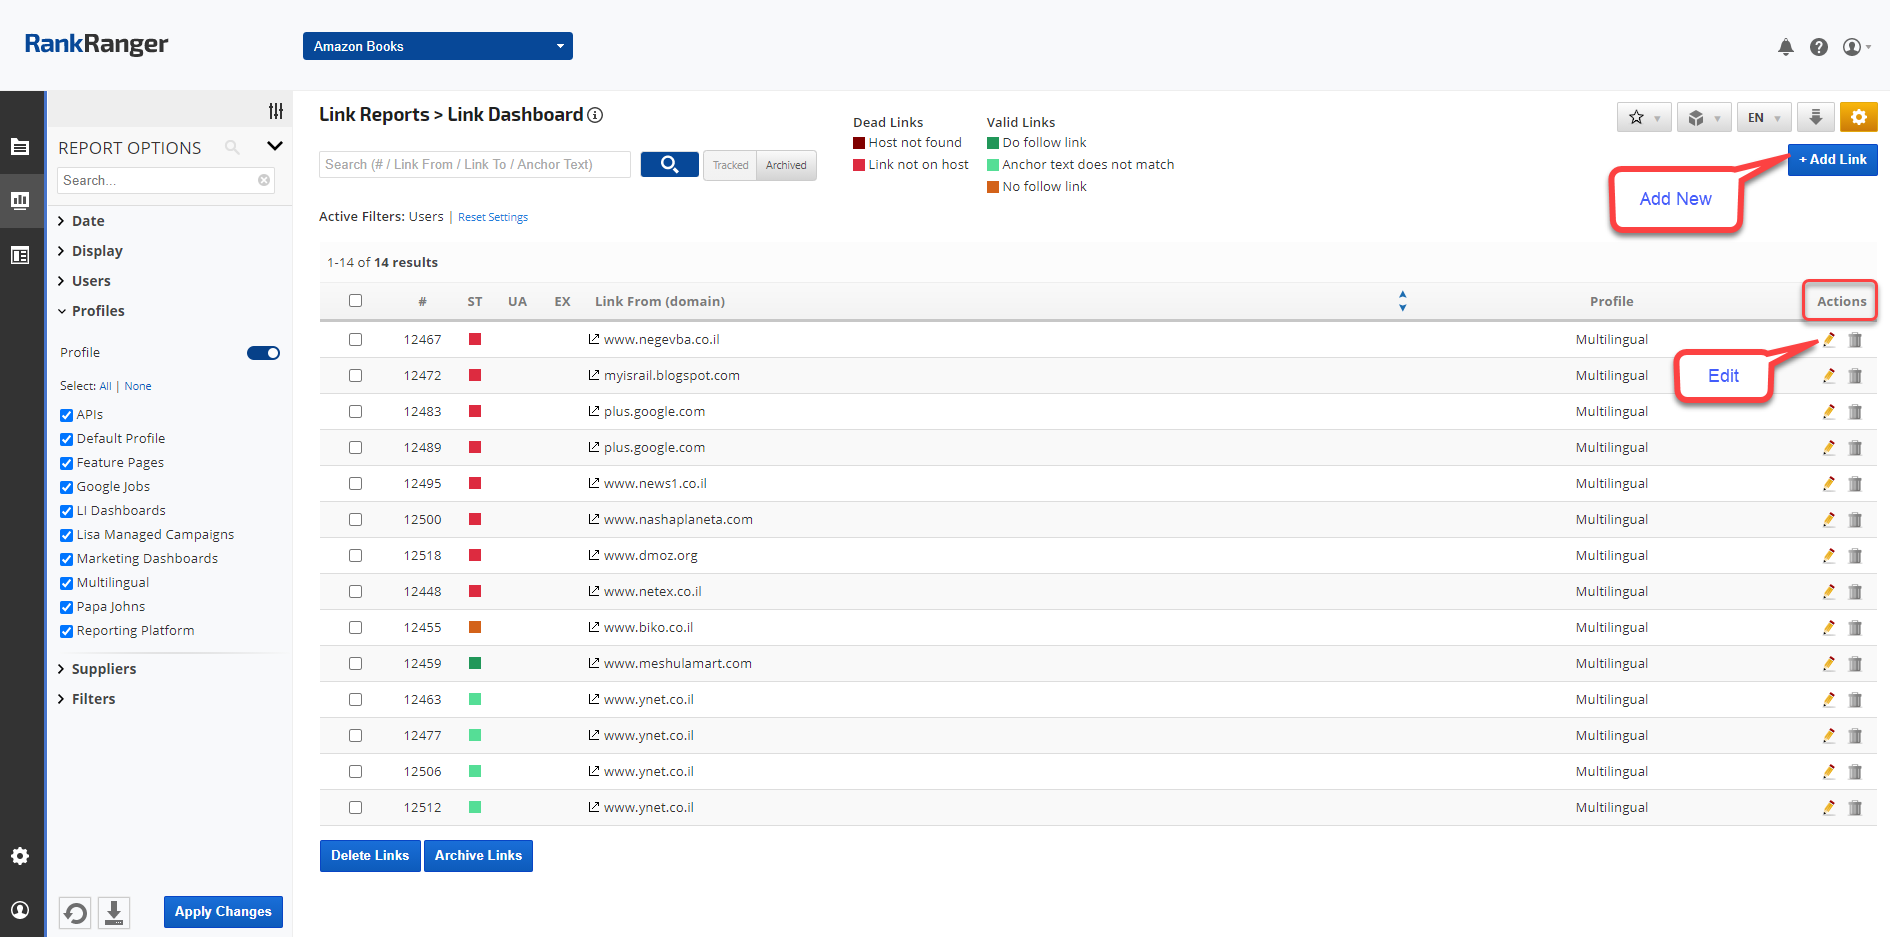
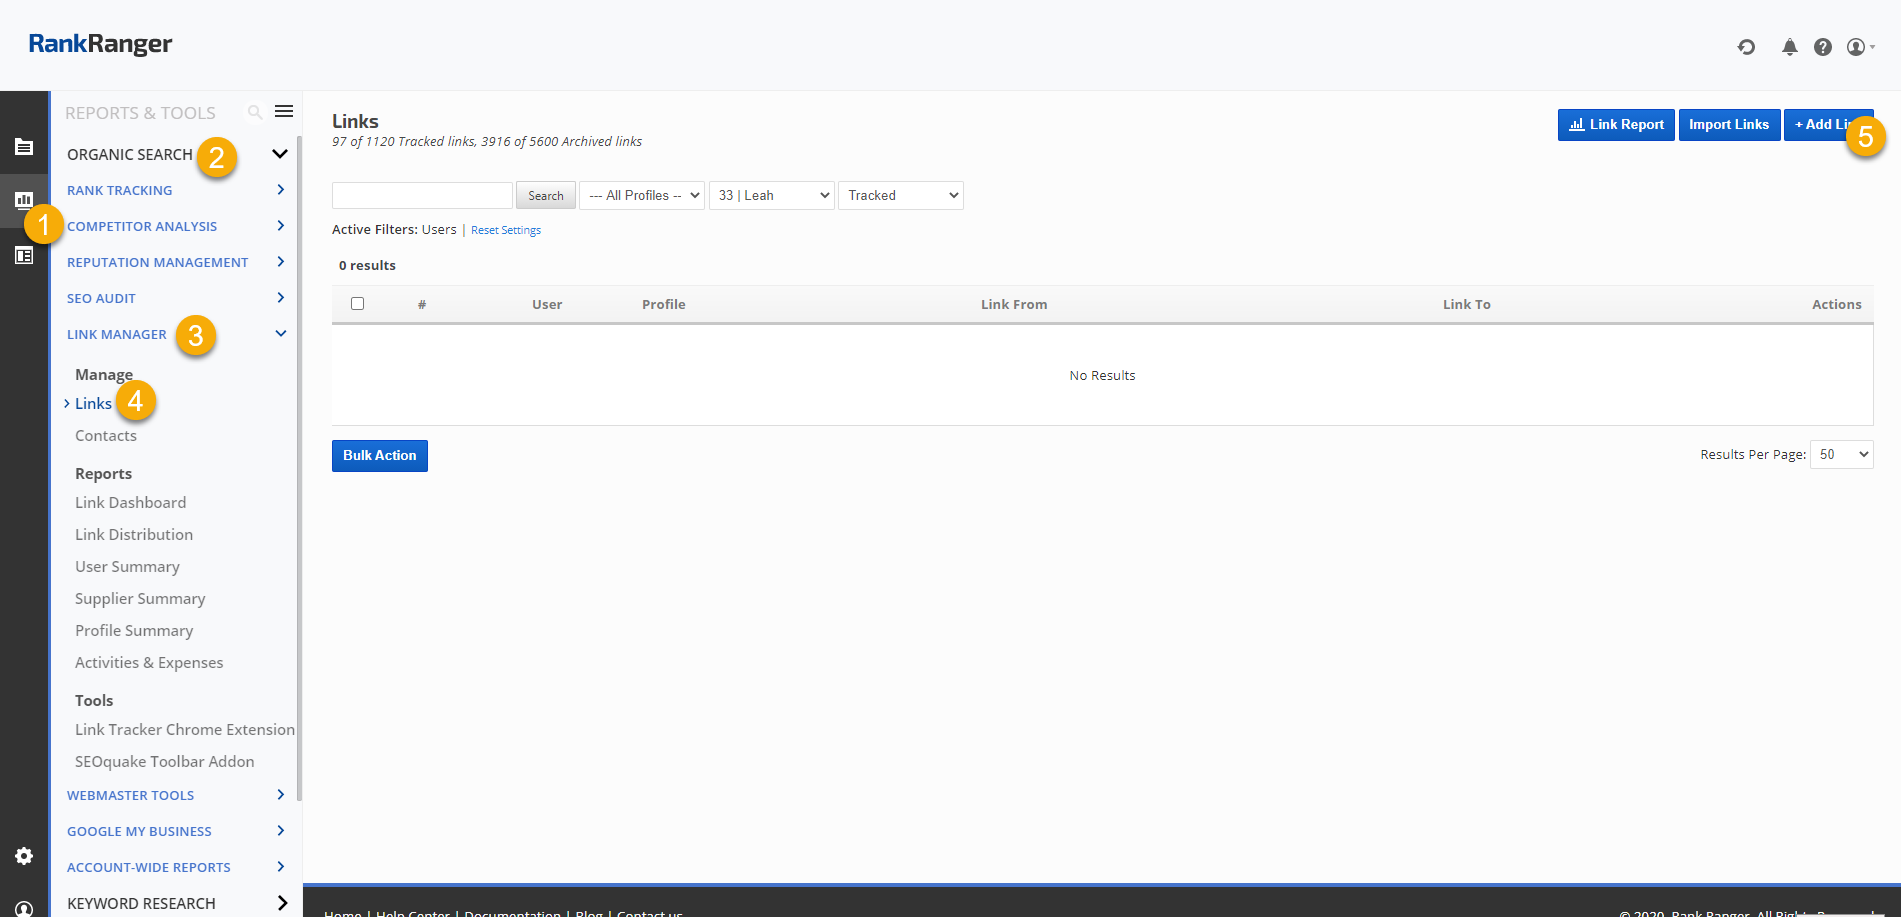
- Managed Links can be filtered by selecting specific Profiles in Report Options of the Link Dashboard, Link Distribution, and Link Management reports
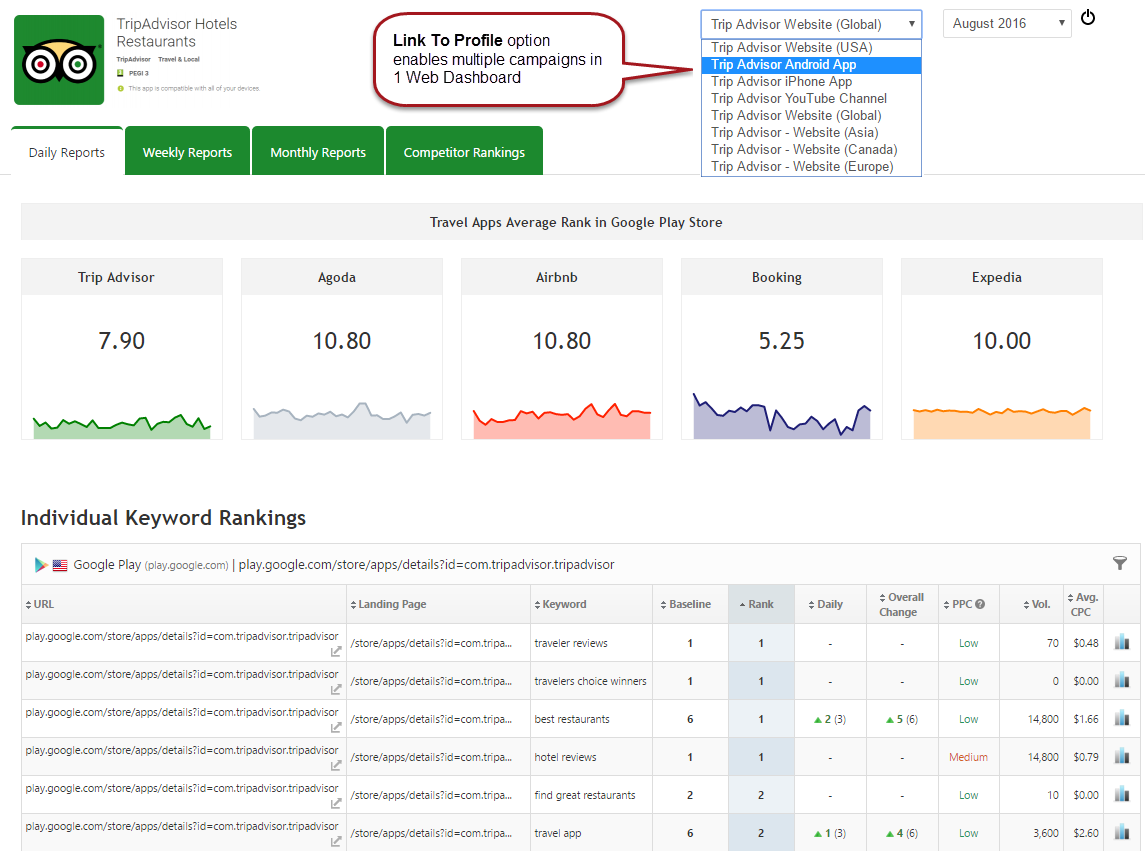
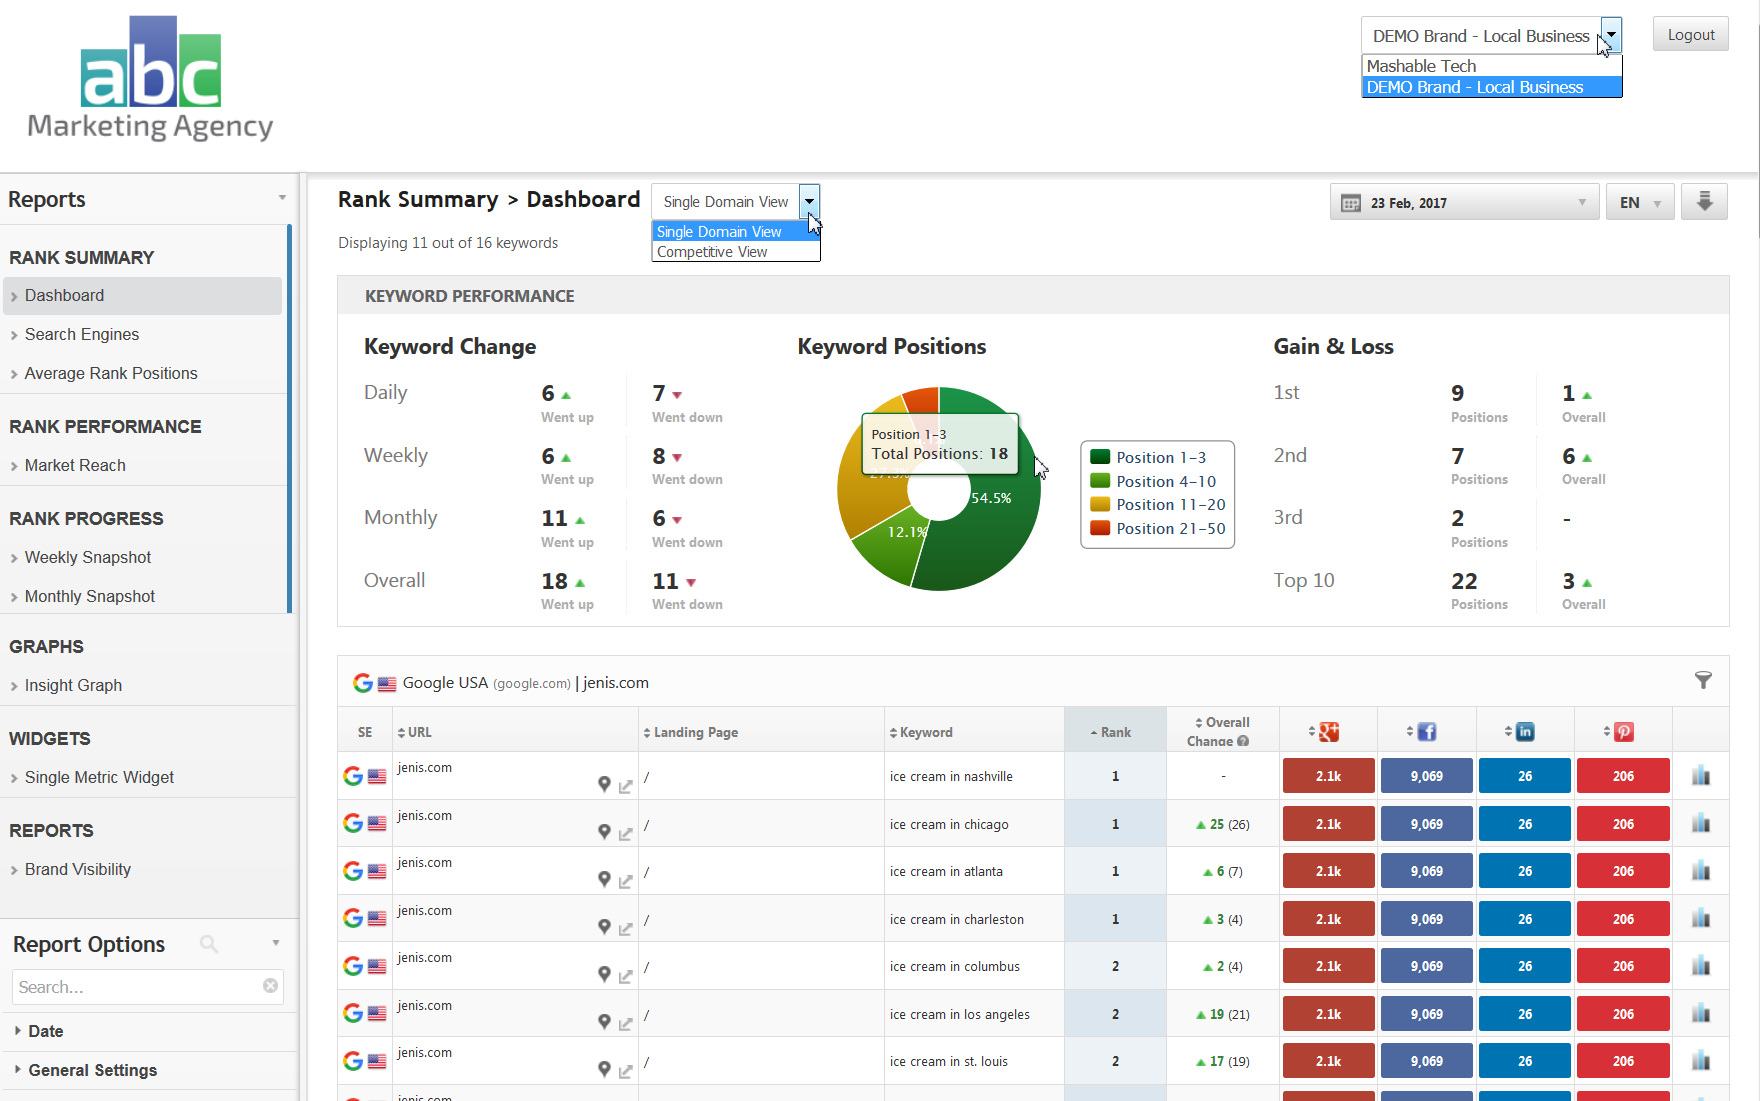
- Single Sign-on to white label Marketing Dashboards and Client Dashboards can be accomplished by creating a Profile for your customers who have more than one campaign
- Enterprise reports can be filtered by Profiles in Report Options
- Profiles can be added via API and used to request data via API
- SEO
- Rank Tracker
- Local SEO
- Mobile SEO
- Link Manager
- Landing Pages
- Social Signals
- On-Page Optimization
- Enterprise SEO Solutions
- Marketing
- Competition Analysis
- Insight Graph
- Keyword Research
- Graphs & Widgets
- Market Reach
- Marketing KPI
- Brand Visibility
- White Label SEO
- Marketing Dashboard
- Client Dashboard
- PDF Reports
- PDF Templates
- Other
- Email Notifications
- Portfolio Management
- Integrations
- Google Analytics
- Search Console
- Pay Per Click
- WeDevelop
- API
Profiles
The Profile feature allows you to organize your rank tracking and managed links campaigns into associated groups, and can be used to create single sign-on dashboards.


